White studio
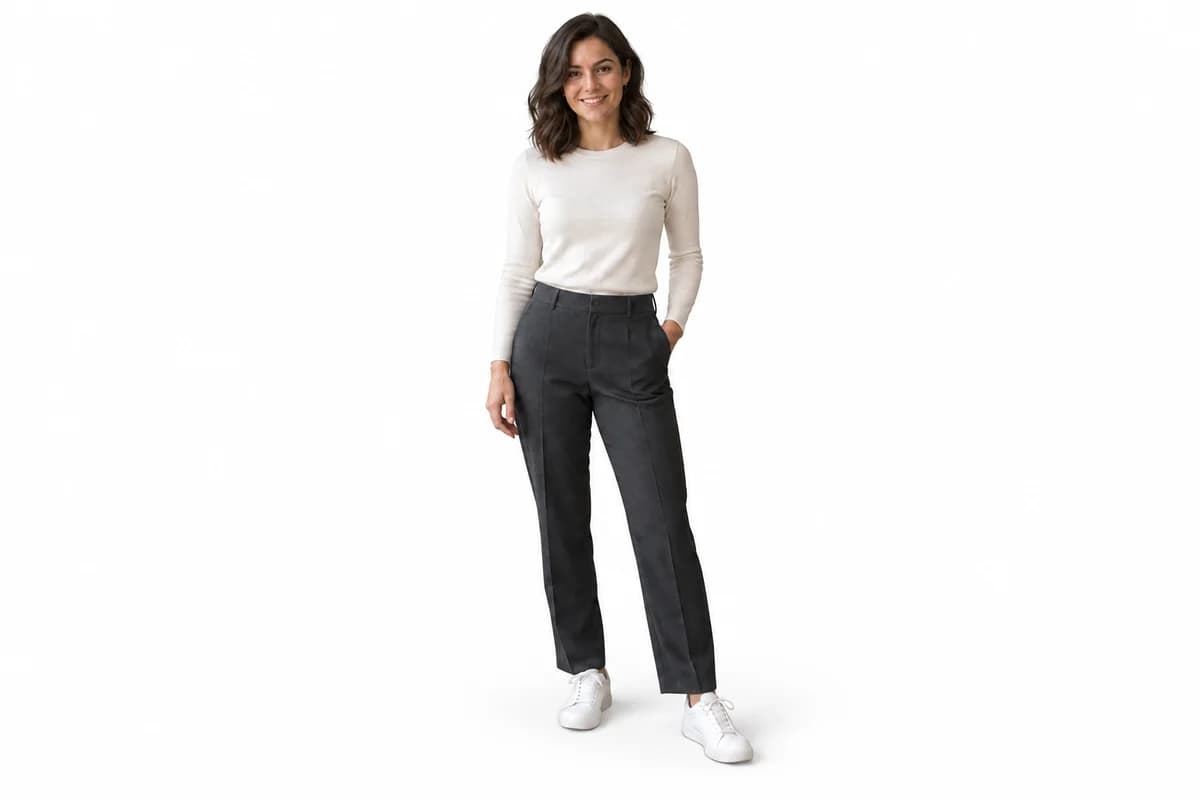
After
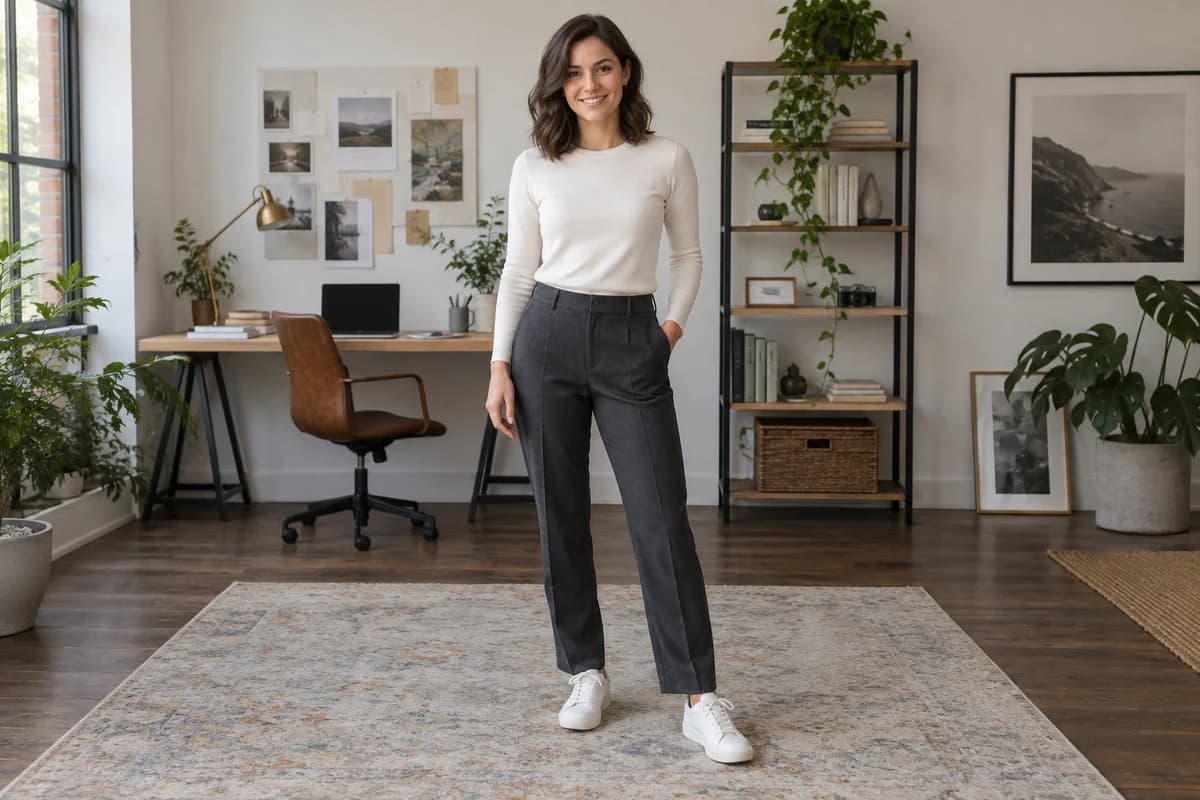
Before
Replace the background with a pure white studio backdrop (#FFFFFF), keep the contact shadow under the subject, do not change the subject's lighting.
Copy-paste prompts for changing a photo background with AI — grouped by studio, portrait, product, vehicle, real estate, and social. Each one states what to replace and what to preserve, which is the part most prompts leave out.
1K: 1 credit · 2K: 6 credits · 4K: 10 credits · Trial previews have a watermark. See credit packs
AI-generated prompt illustration. Results in Weezard may differ.
Opening photo editor…
A useful background prompt names the new scene, its lighting and the details you want to preserve. The prompts below use that structure. Preservation clauses guide the model but do not lock the original pixels, so compare each result with your source photo.
Different photos need different prompt shapes. Pick the group that matches what you are editing.
White, black, grey and seamless paper backdrop prompts with shadow instructions
Blurred office, neutral walls, and shallow depth-of-field scenes that match eye-level shots
White, wood, marble and lifestyle surfaces for product photos
Studio sweep and clean lot prompts with instructions to preserve vehicle details
Sky and lawn prompts with instructions to preserve the building and boundaries
Gradients, neon night scenes, and textured walls for posts and profiles
Use the dedicated background remover for an actual transparent PNG cutout
What clause to add when the subject looks pasted on or got altered
Explore 12 visual examples, then copy a prompt or try it on your own photo. Drag the divider to compare backgrounds.
AI-generated illustrations of the prompts, not recorded Weezard edits. Your result may differ in details, lighting and framing.
Replace the background with a pure white studio backdrop (#FFFFFF), keep the contact shadow under the subject, do not change the subject's lighting.
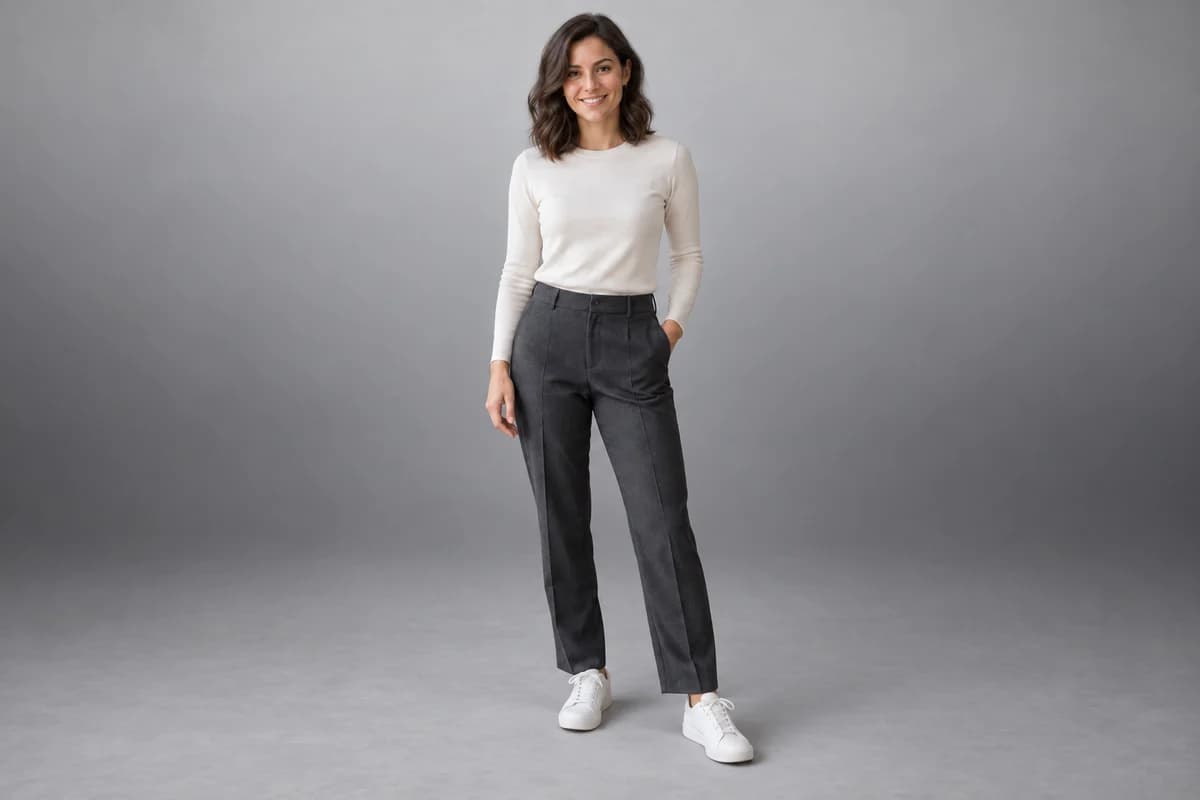
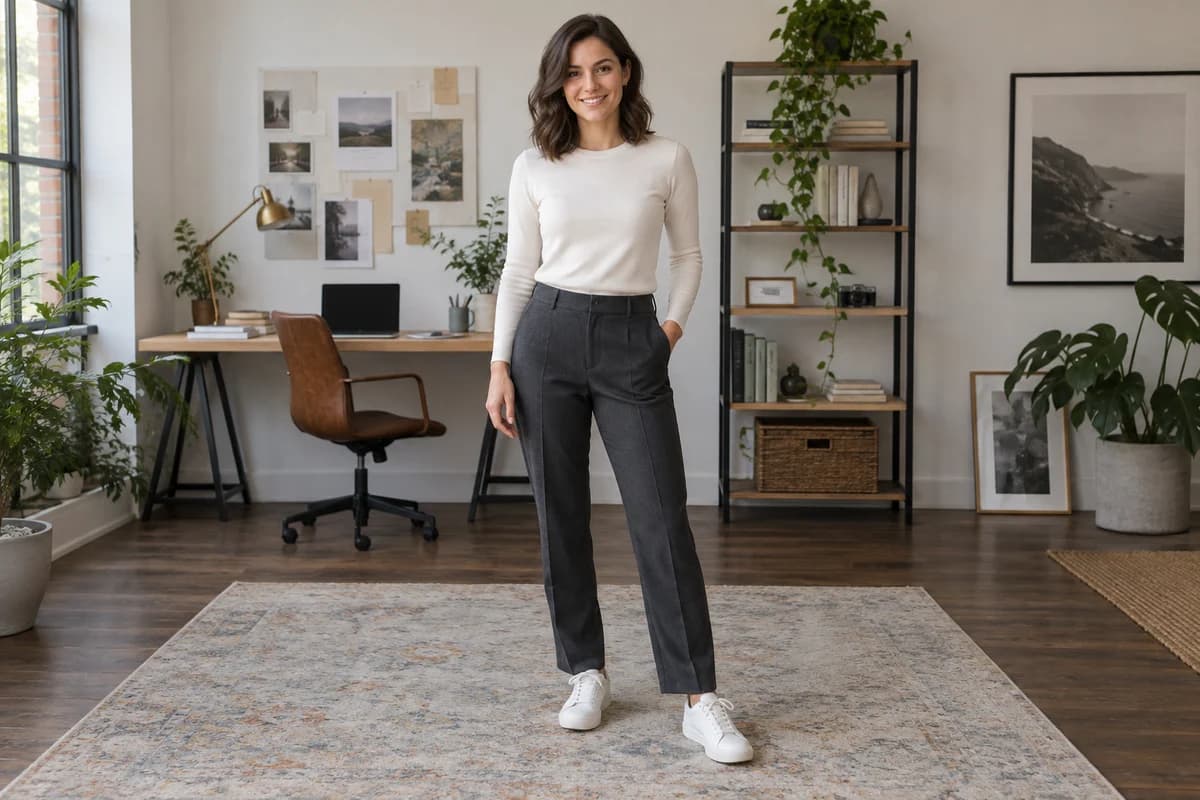
Replace the background with a soft neutral grey studio backdrop with a gentle gradient from light at the top to darker at the bottom, keep the subject exactly as photographed.
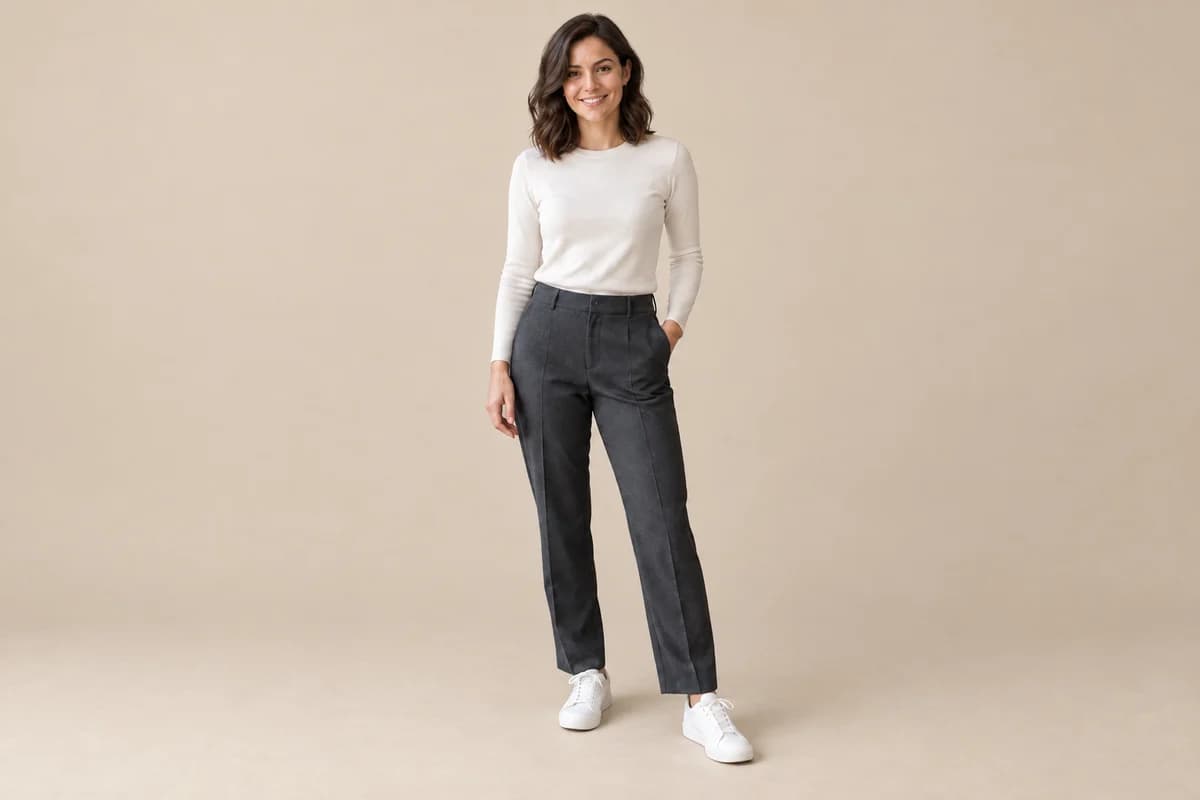
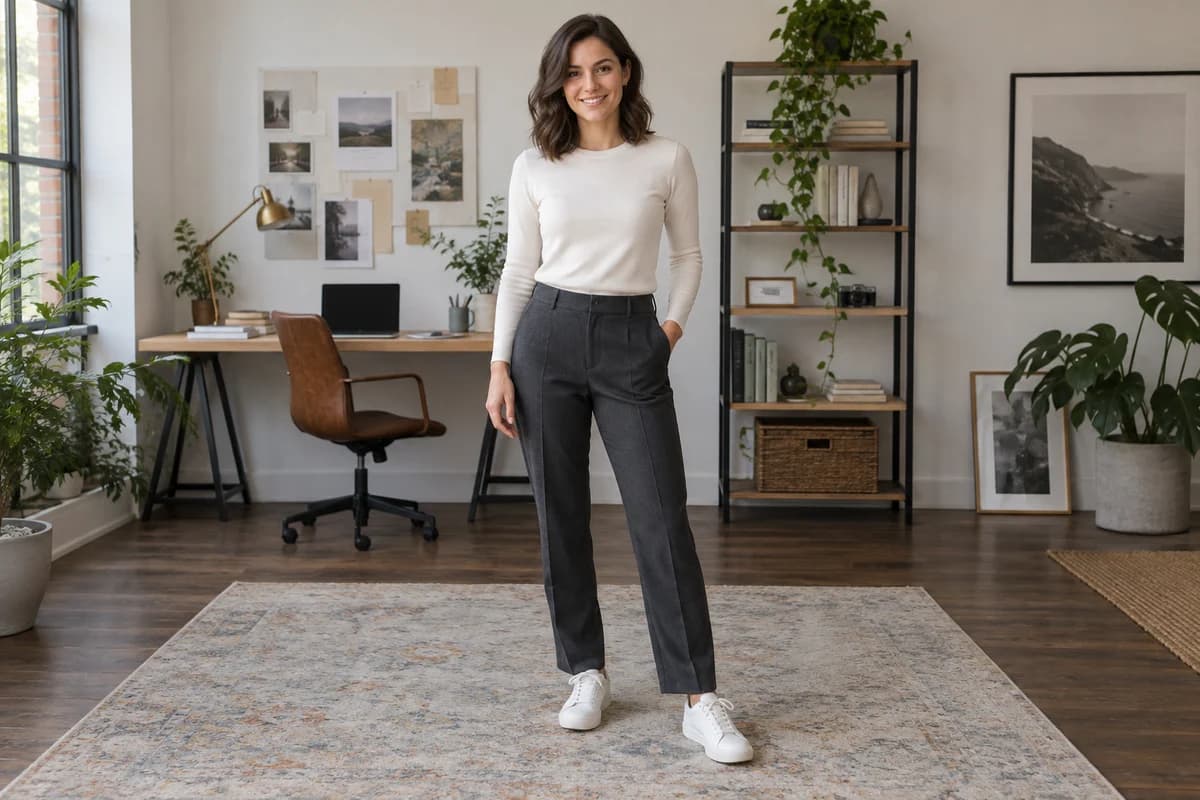
Replace the background with a seamless light beige paper backdrop, add a soft natural shadow where the subject meets the ground.
Replace the background with a softly blurred modern office interior, shallow depth of field, keep the subject's original lighting and skin tone unchanged.
Replace the background with a blurred outdoor scene in warm late-afternoon light, simulate a wide-aperture portrait lens, keep the subject sharp.
Replace the background with a plain muted blue-grey wall, even soft lighting, no visible texture or objects.
Place this product on a pure white background, keep the existing contact shadow, product fills about 85 percent of the frame.
Place this product on a light grey seamless surface with a soft reflection beneath it, studio product lighting.
Replace the background with a warm wooden table surface, soft daylight from the left, keep the product's own shadows consistent with that light direction.
Place the dish on a matte slate tabletop with a softly blurred background, keep the food, garnish, plate shape and portion size unchanged.
Replace the background with a light linen tablecloth in soft window light, preserve the original food colours and the shadow under the plate.
Replace the background with a clean warm-grey surface, keep the dish centred and preserve every ingredient visible in the original photo.
Pick, paste, adjust one clause if needed.
Jump to the group that matches what you are editing — studio, portrait, product, vehicle, property, or social. The prompt shape differs meaningfully between them.
Copy a prompt or use it in the editor above. Upload your photo and adapt the scene description to its lighting and camera angle.
Compare the subject and background with your source. Adjust the wording if useful; some images need a cleaner source or manual editing. Each new AI edit uses a credit.
Use these details to make your request clear, then review the generated result.
Keep your original and check the generated image before you use it.
Choose a clear source image and describe one specific change. A focused request makes the result easier to compare with your original.
Compare faces, lettering, edges and other important details with the original. AI can change parts of an image you asked it to preserve.
Each AI edit uses 1 credit at 1K. Your first credit is free after signup and email verification. Free exports have a watermark; paid credits unlock watermark-free exports.
Name what to replace, describe the new scene and lighting, and say what to preserve. For example: “Replace the background with a soft grey studio backdrop, keep the contact shadow and preserve the subject.” This guides the edit but does not guarantee identical subject pixels.
A generative model can redraw details across the image even when you ask to keep the subject unchanged. A preservation clause makes your intent clearer, but you still need to compare faces, labels and fine edges with the source. Use manual compositing when exact original pixels matter.
A lighting clause. A subject lit from one side placed against a scene lit from the other reads as composited even to viewers who cannot articulate why. Either choose a background with matching light direction, or add "relight the subject to match the new scene" to the prompt.
Every prompt is free to read and copy. Running an AI edit in Weezard uses 1 credit at 1K. A new account gets one free credit after signup and email verification. Free exports have a watermark; paid credits unlock watermark-free exports.
Start with a plain white studio background prompt and ask to preserve the product, label and contact shadow. Check the exported background color, framing and current requirements of the marketplace before publishing. A generated white background is not guaranteed to be uniform #FFFFFF or approved for a particular listing.
Try: “Replace the grey sky with a blue sky and soft clouds. Keep the building, windows, boundaries and exposure unchanged.” Then compare those features with your original; the instruction does not guarantee they will be preserved.
Yes. Reusing the same scene and lighting instructions is a useful starting point for a photo set. Outputs are generated separately, so check each one for differences in subject details, framing and light.
Inspect both the source and the requested scene. Try a simpler background that matches the camera angle and light, or use a sharper original. Repeated generations may still change important details; a manual editor can be a better fit when exact preservation is required.
A background-change prompt describes the new scene and names the details to preserve. A specific request can make the edit easier to assess. The model may still change the subject, lighting or edges, so compare the generated image with the original.
Every prompt below follows the same three-part shape: what to replace, what the replacement looks like, and what to preserve. You can paste them as-is, or swap the scene description and keep the structure.
Plain backgrounds are a useful starting point because there is less scene geometry to match. Try them for products and headshots. Check current marketplace requirements before using an output in a listing.
The failure mode here is depth: a portrait shot at eye level in a small room does not sit convincingly in a wide outdoor scene. Keep the replacement shallow.
Shadows matter more than the background itself. A product with no contact shadow reads as a sticker no matter how clean the cutout is.
Ask to preserve realistic reflections and paint details. Inspect vehicle condition, body lines, badges and plates against the source before using an edited listing photo.
For property photos, start with a focused sky or lawn request. Keep buildings, property boundaries and visible condition accurate, and review the output before publishing.
These are four useful things to check when a result needs work.
The scene description is the part you change. The structure is the part you keep:
Replace the background with [scene description], [lighting note], keep [what must not change].
If the subject looks pasted on, try a background with more compatible lighting. If important details changed, clarify what to preserve and compare again. A simpler scene or sharper original may help; use a manual editor when generated variations do not meet your needs.
Use Copy prompt to reuse the wording, or Use this prompt to load it into the editor above. Upload your photo, review the wording, then start the edit. Transparent cutouts use the dedicated background remover. AI background edits use 1 credit at 1K; see free trial and paid export details. Review the result before publishing: preservation instructions reduce unwanted changes but do not guarantee an identical subject. Related workflows: put a white background on a picture, remove objects from photos, remove text from an image, or open the full AI photo editor online.
Next step
Choose the tool that matches your next photo edit.
Paste any prompt from this page and change the background on your own photo.
Create a white backdrop, then inspect the output against your marketplace requirements.
Clear clutter out of the frame before replacing the background behind it.
The full editor when the background change is one step of a larger edit.
Try an edit on your own photo and inspect the result before downloading.
1 free credit after signup and verification • No card required